Grin and bear it.

I stumbled on something the other day.

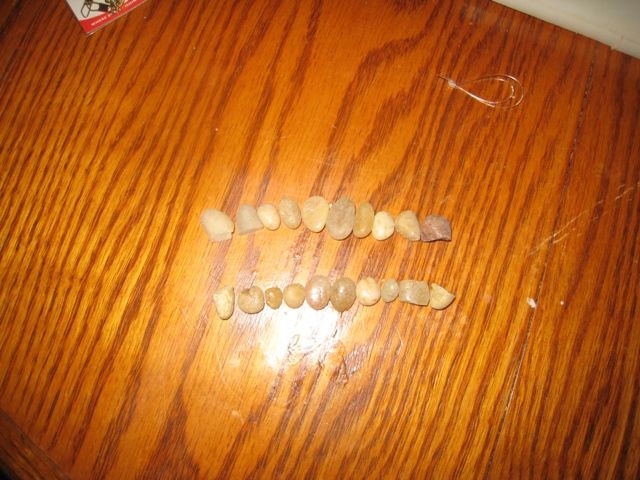
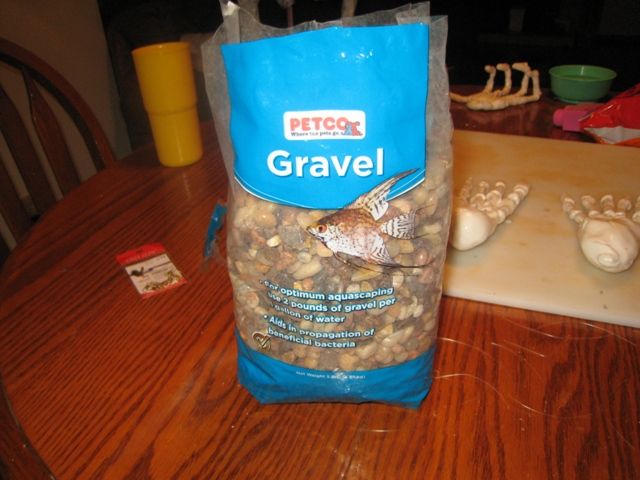
Somehow my daughter had gotten ahold of some aquarium gravel.

Of course, she currently thinks ROCKS are the most amazing things in the world to begin with…

Anyhow, on confiscating it, I was surprised to see just how much like a tooth it actually looked…

Hey, this could be useful.

From bob

Dirt cheap, that gravel. And look, a set of choppers.

From bob

Bob’s dentist still sucks, though.

From bob

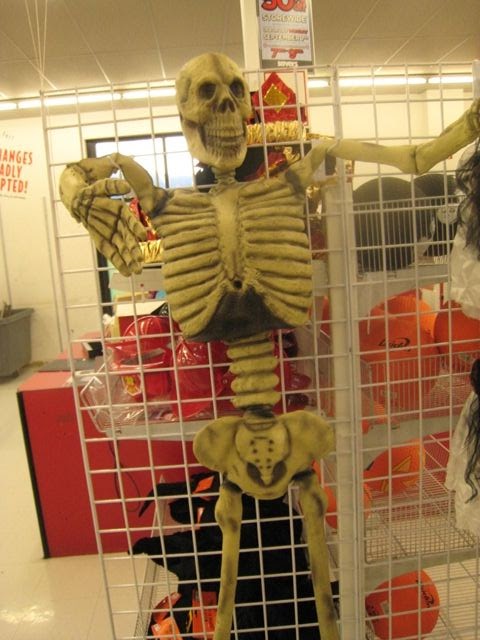
My Bob there has racked up to be just under $20 in construction…Or…you could buy one of THESE for $60…

From bob

I’ll take Bob…

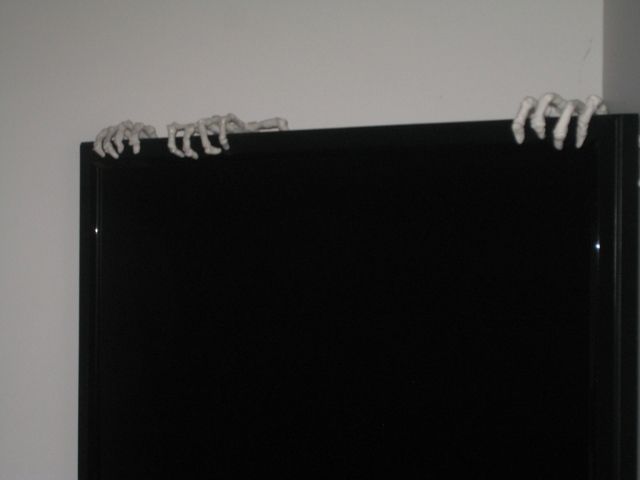
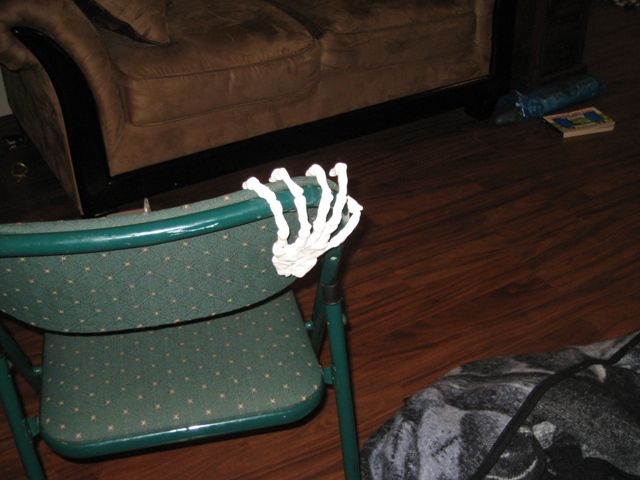
Hands are crawling around everywhere now.

From bob
From bob

Made watching “And now the screaming starts” all the more hilarious this weekend.

News and notes.

Mostly been working on the BYOB project lately. Still not finished.

I did get some work on some lab equipment done, but the pictures I “took” turned out to not have a card in the camera….DOH!

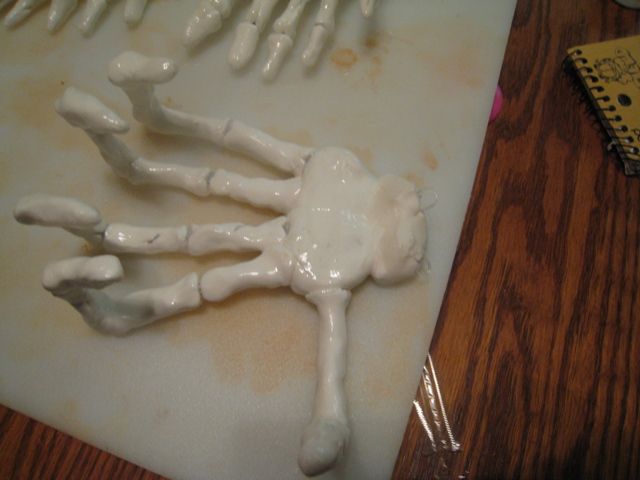
While making a hand for the BYOB, though, I came on something.

From bob

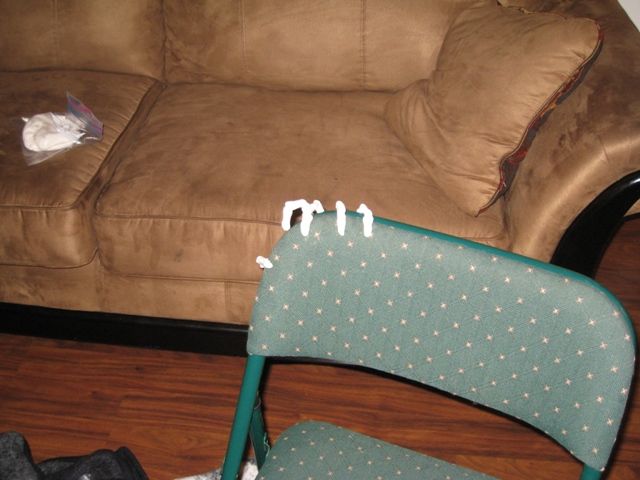
I’m REALLY liking the whole disembodied hand look there. It just cracks me up. That one is presently hanging on the computer monitor, and I have 2 more drying. I think I just may make a bunch of them to give to some folks. Heck, might even sale one or two.

From bob

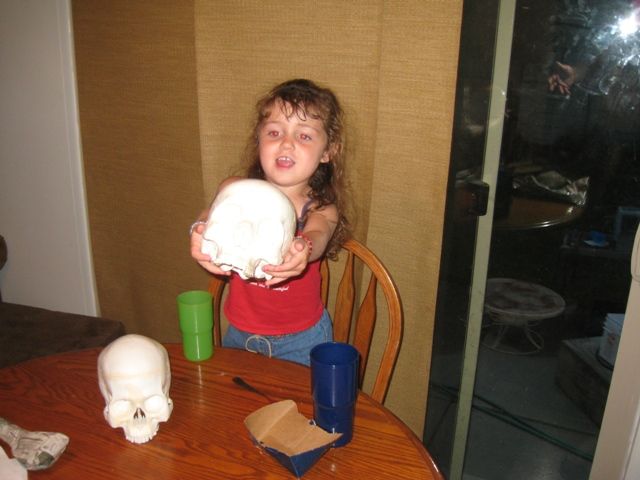
EVERYTHING is now Bob as far as Talia is concerned. Anything with a remotely skull design…”BOB!!!” Michaels yesterday, when another child of similar age was being traumatized by the Halloween section, Talia was in complete wonder at the little Halloween village that had an animated Bob. Occasionally, “Fred” escapes instead of Bob, and she knows Fred from Bob at home, but I’m not sure what is triggering the difference in the stores.

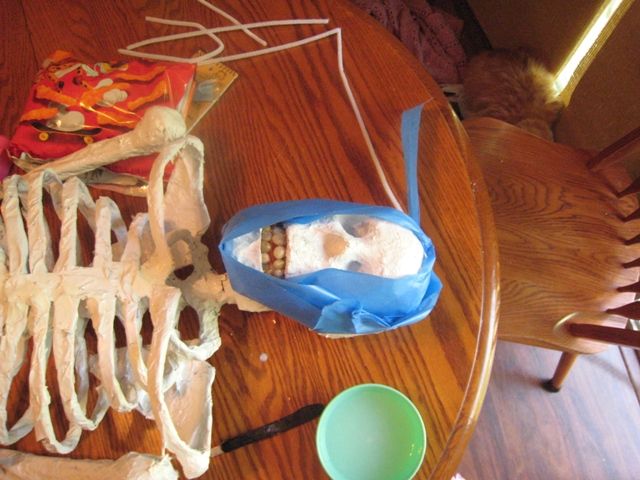
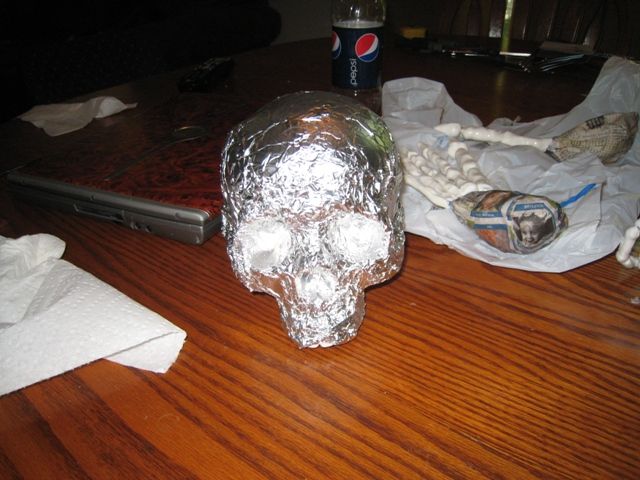
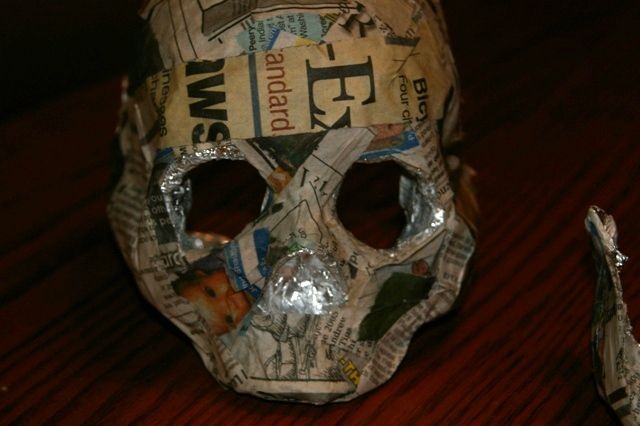
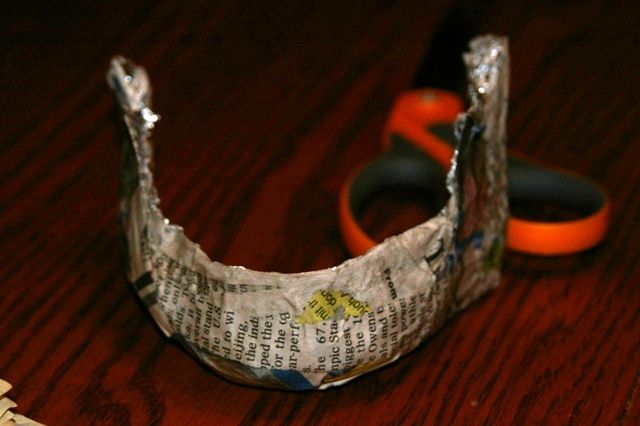
I do want to highlight one portion of the BYOB here now, before it’s finished. Making of a skull.

First, you need a skull to copy.

“This one scareder”

From bob

And, just cover it in tin foil.

From bob

Mache over half of it, and peel off.

From bob

Repeat for the other half, and slap those two together, presto, you have a skull. Little clay to fill in the details…

Works on the jaw, too.

From bob

Skeletal Hands

I’m not the one that came up with this, but for the life of me, I can’t find the original tutorial.

Well, I adapted it’s concepts to my own stylings, and present a means of making good looking skeletal hands.

You’ll be needing some wire, some beads, and some clay. If following me precisely, also need some power grab.

First, cut your wires to length, tie them together, and make the palm in clay. You are free to make this as realistic as you wish. Study some xrays. For me, I’m using Crayola Model Magic clay, and since I am working on Jack, it’s just a simple palm, and he only has 3 fingers and a thumb.

From Christmas

Now then, simply work on each bone. Beads go where the joints are, clay for the bones. Larger beads would be ideal, but I’m using what we have.

From Christmas

As you can see, I’m just making rough shapes for the bones, as I’ll do details with the power grab later. If you’re using a better clay, you could make them nice and finished now.

The nice part now is that, once the clay dries, you have a very posable hand.

From Christmas

Now for finish work.

Power Grab, and a bowl of water.

From Christmas

For me, the power grab is serving a dual purpose of attaching our Christmas ornament to Jack’s hand, and providing the finishing form of the hand itself.

Just goop on the power grab with the caulking gun (or pre-pressurized power grab)…

From Christmas

Use the water to keep it from sticking to your fingers, and shape it how you want.

From Christmas

Nice bone hands complete with joints. A little painting to finish the look.
From Christmas
From Christmas